Using Reels and Guidelines for Safe Wreck Diving
Welcome to your Wreck Diving or Advanced Technical Wreck Diving course with Chang Diving Center! This guide introduces the essential skills for using reels and guidelines during wreck or cave penetration dives. Safety and control depend on preparation, teamwork, and good technique.
🧰 Required Equipment
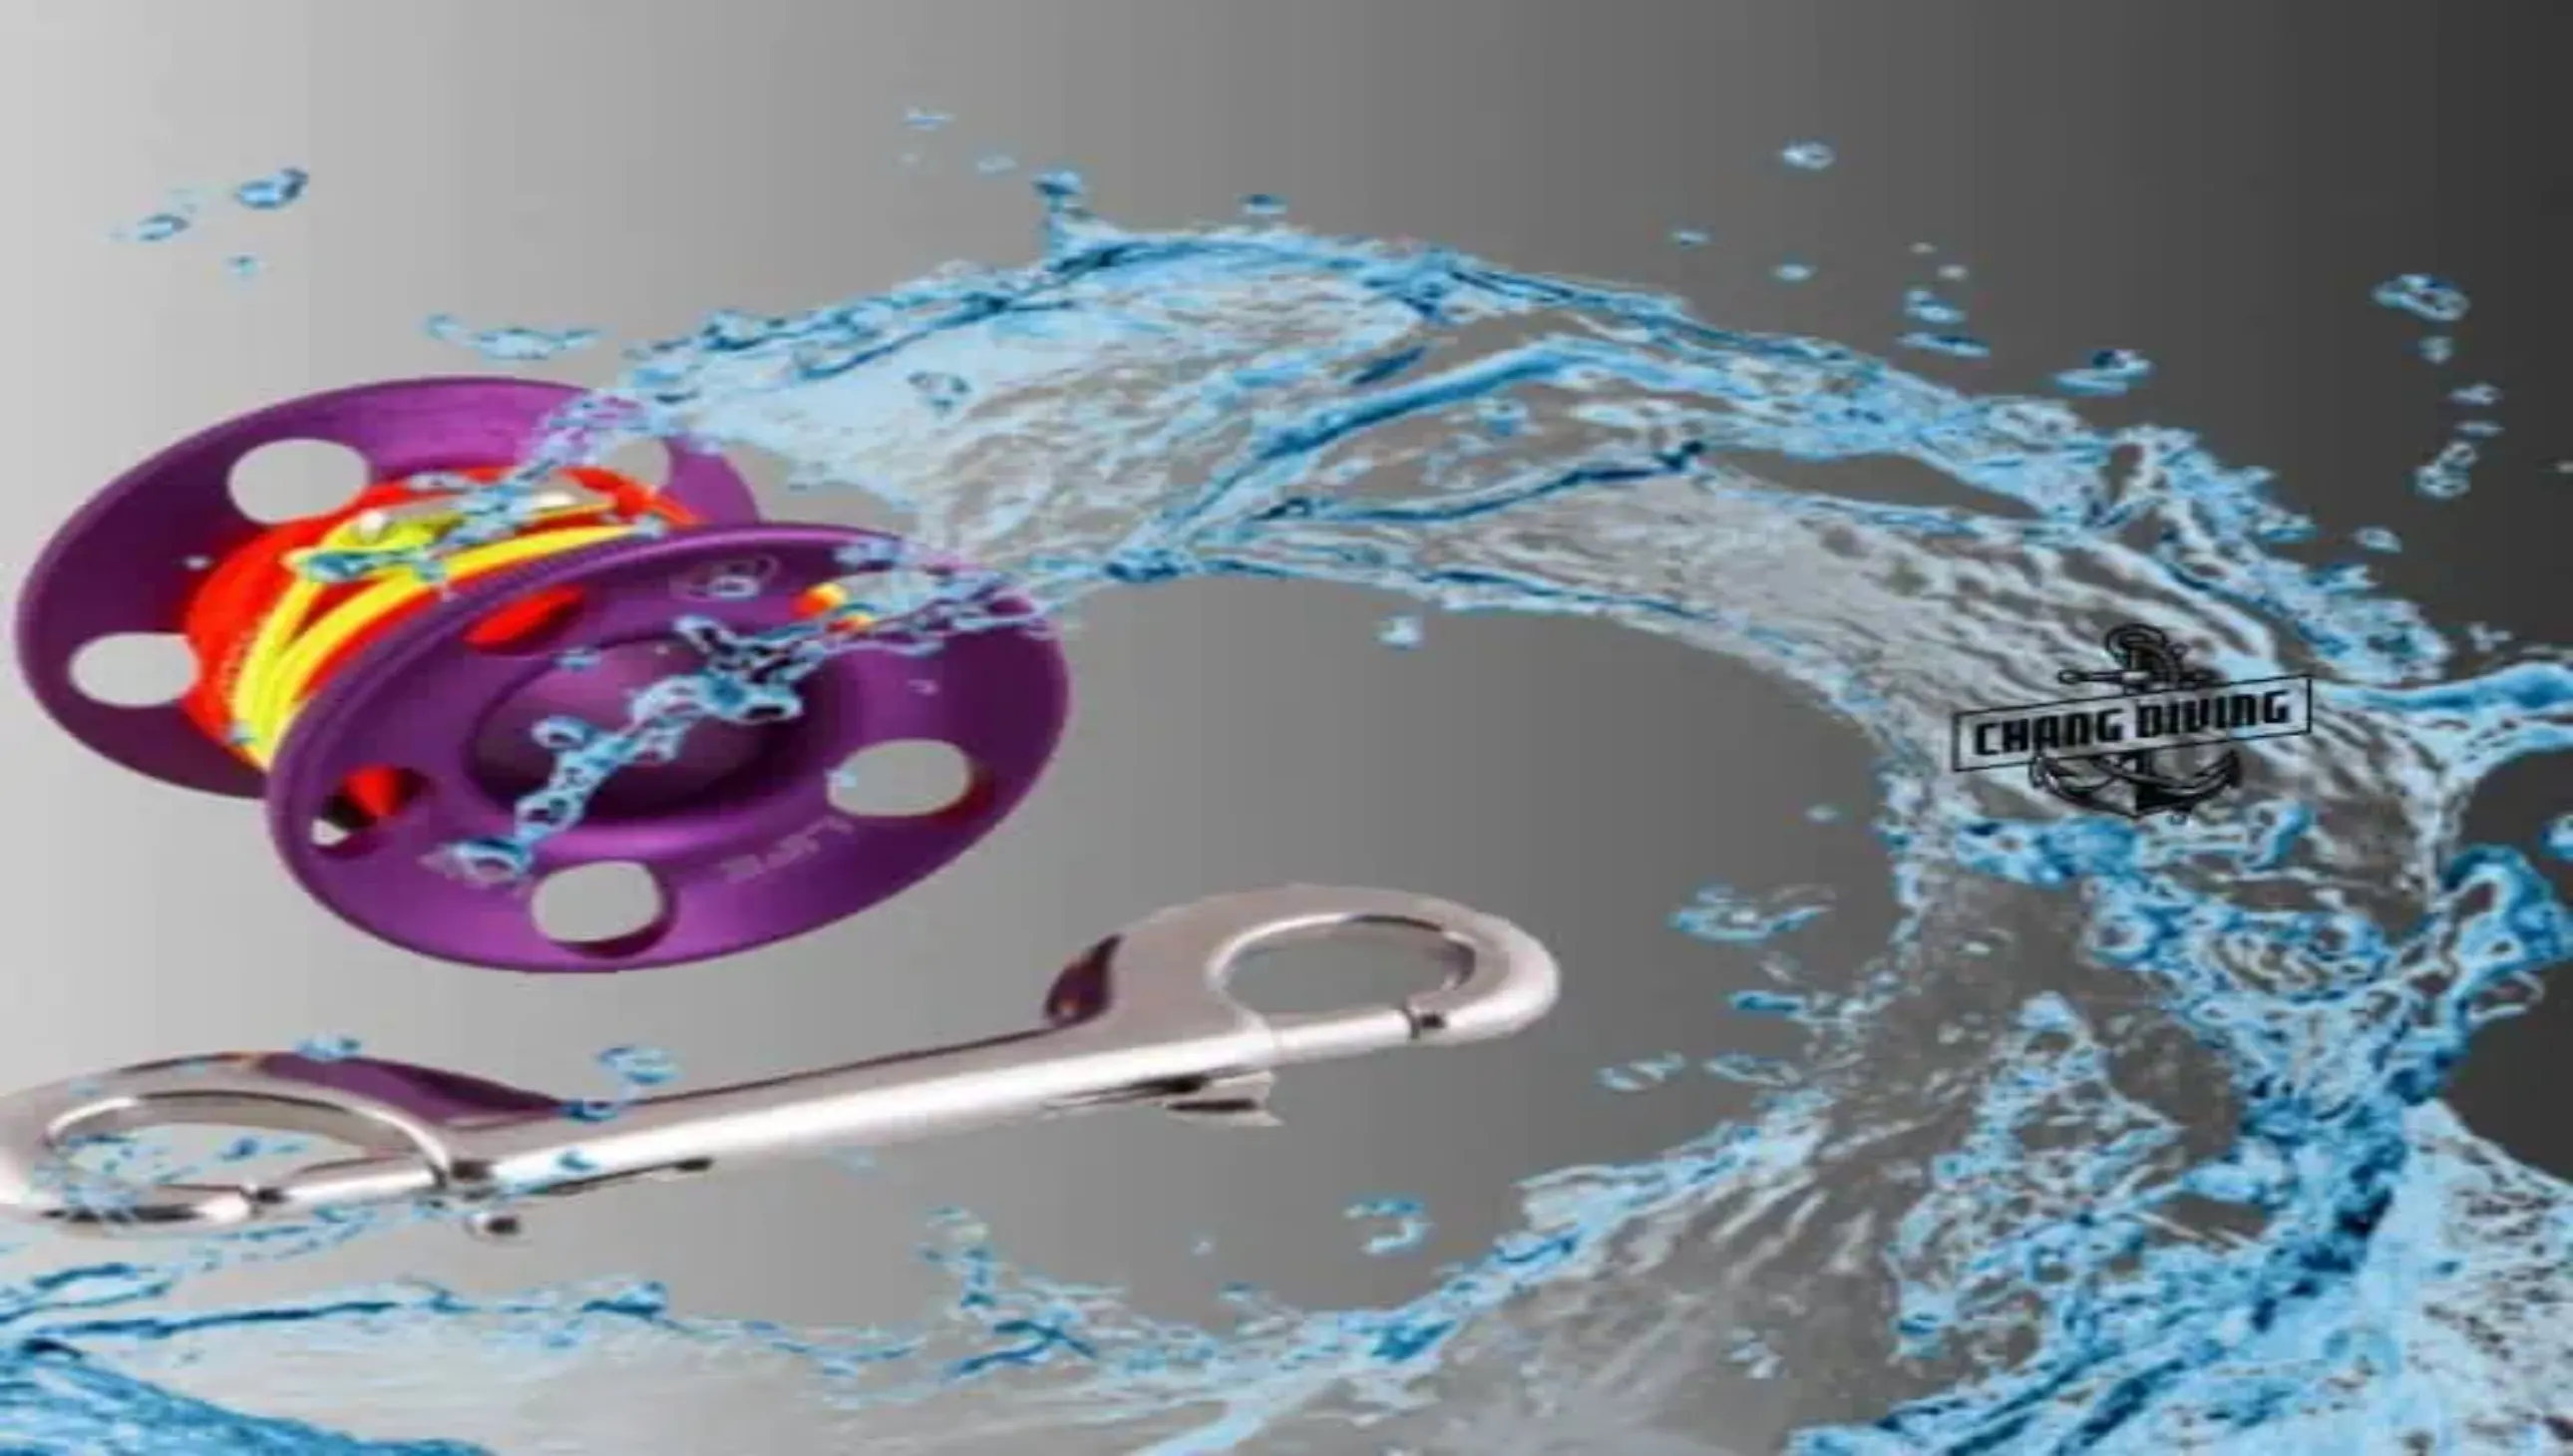
- Reels or Spools – Primary and backup
- Line markers – Directional, non-directional, and personal markers
🛠️ Preparing Your Line
- Unwind and inspect the full length of your line for damage or tangles.
- Ensure line markers are clean, labeled with initials, and ready to deploy.
-
Plan your dive as a team:
- Diver 1: Deploys the line
- Diver 2: Maintains light and communication
- Diver 3: Supports and assists with tie-offs
📏 General Rules for Line Handling
- Only dive in overhead environments with proper training and certification.
- If unsure about an existing line’s condition, lay your own guideline.
- Never cross another line; place yours neatly below any existing guideline. Where guideline use is mandatory—full overhead outside the light zone on a wreck—the same discipline applies; see HTMS Chang: wreck penetration vs swim-through for how we separate swim-through, limited penetration, and full overhead on Koh Chang.
- First in, last out: The lead diver enters first and exits last.
📌 Line markers (wreck & cave)
In wreck and cave diving, line markers are essential safety tools. They provide orientation, team communication, and ensure a safe exit path.
🔸 1. Arrow marker (directional)
- Always indicates the direction to the exit
- Must be clearly oriented
- Used at decision points and intersections
Typical use:
- At junctions
- In complex environments
- To confirm exit direction during low visibility
🔸 2. Non-directional marker
- Marks a specific location or reference point
- Provides no directional information
Typical use:
- Start point of a jump line / side line
- Marking important locations inside the wreck or cave
🔸 3. Cookie (personal marker)
- Personal marker with name or initials
- Used for team identification
Typical use:
- Placed on the line before penetration
- One marker per diver
🔻 Preparing line markers
Standard procedure for professional dive teams:
- Each diver carries their own full set of markers
- All markers are clearly labeled (name or initials)
-
Before the dive:
- Check completeness
- Ensure secure attachment to harness
- Markers must be accessible without visual contact
🔻 Practical team procedure
🧭 Before penetration
- Diver 1 secures the guideline — using at least two solid tie-offs outside the wreck
- Each team member places one personal cookie directly on the line before entering
Result: clear identification of all divers inside the system.
🧭 During penetration
- Diver 1 lays the guideline
- Diver 2 manages light and communication
- Diver 3 support, monitoring, backup
At junctions / side lines:
- Diver 1 places a non-directional marker (reference point) and, about 15 cm before it, an arrow marker pointing to the exit
- Attach the jump / side line at the non-directional marker, then continue penetration
🧭 At the turn point
Once the planned limit is reached, rotate roles:
- Diver 3 becomes Diver 1
- Diver 2 stays in position
- Diver 1 becomes Diver 3
Why: a fresh diver leads the exit; the original line-layer retrieves the line.
🧭 Exiting the wreck / cave
- The new Diver 1 leads the team out
- The original Diver 1 (now Diver 3) retrieves the guideline during exit
- All markers are removed — leave no trace
🔻 Important note
Line markers are not optional — they are critical safety tools, especially in low visibility.
Common mistakes:
- No clear arrow placement
- Missing cookies
- Unlabeled markers
- Incorrect placement sequence
🔗 Penetration Procedures
Secure your reel outside the wreck at a fixed and solid anchor point. Always use a primary and a secondary tie-off to ensure line integrity. Keep your line around 15 cm off the bottom to avoid entanglement or silt-out. Avoid sharp edges or surfaces that could damage the guideline. Place directional markers at all turns and junctions to mark the way out.
📍 Recommended Dive Sites for Practice
- HTMS Chang Wreck – Perfect for multi-level penetration practice
- T11 Wreck – Ideal for confined line drills
🎥 Video Tutorial: Reel & Guideline Techniques
Watch our video guide to see proper line handling in action: